Appendix One
Making a Mud Chimney
This technology was developed n the mid 1980s by Appolonia Lugemwa who works for the
Archdiocese of Kampala in Uganda. She started working on possible ways of making chimneys after
realising that several people could not afford metal chimneys. She tried several materials but finally
experimented with grass reinforced with mud and tied round a banana stem to form a cylindrical
shape. The technology first worked in 1986 and since then it has spread to many parts of Uganda.
Other mud stove promoters in Uganda picked it up and are promoting it. It is easy to make and is
cheaper than a metal chimney.
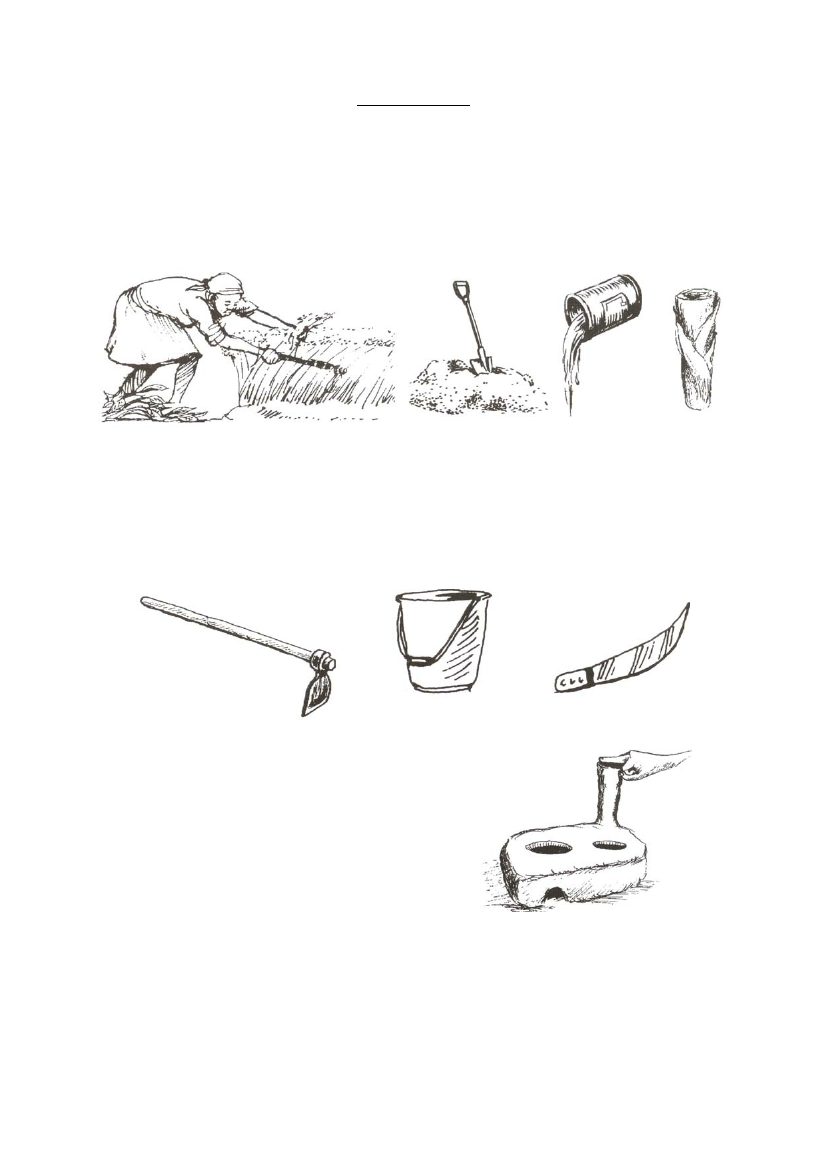
Figure A1.1 The materials required
Materials used
Sand, clay, water, grass and a banana stem (or any cylindrical-shaped item can be used).
Mixing ratios
There is no standard ration but the mud should neither be too wet nor too dry to bind.
Tools commonly used
Panga, bucket and hoe
Figure A1.2 A hoe, bucket and panga
Dimensions
The diameter of the chimney should be equal to the
length of the third finger. The height depends on the
kitchen size and height to the ceiling. A chimney that
passes through the wall should not be less than the
length of an arm of an adult.
How to make a chimney
1. Mix clay soil with water to make mud.
2. Lay dried grass on the ground using force,
paste mud on the grass.
Figure A1.3 The diameter of the chimney
34